How Do You Apply Eyeliner At 40?
You’re in your 40s and you’ve decided that it’s time to try something new with your makeup routine.
You’ve always admired the look of eyeliner, but you’re not sure how to apply it without looking overdone or outdated.
Don’t worry, you’re not alone.
Many women in their 40s are looking for ways to update their makeup routine while still looking age appropriate and sophisticated.
Take, for example, Sarah, a 43-year-old working mom who wants to add a touch of glam to her everyday look.
She’s noticed that her eyes are looking tired and less defined than they used to, and she’s hoping that a bit of eyeliner could help.
But with so many types and techniques to choose from, she’s not sure where to start.
If this sounds like you, keep reading for a comprehensive guide on how to apply eyeliner at 40.
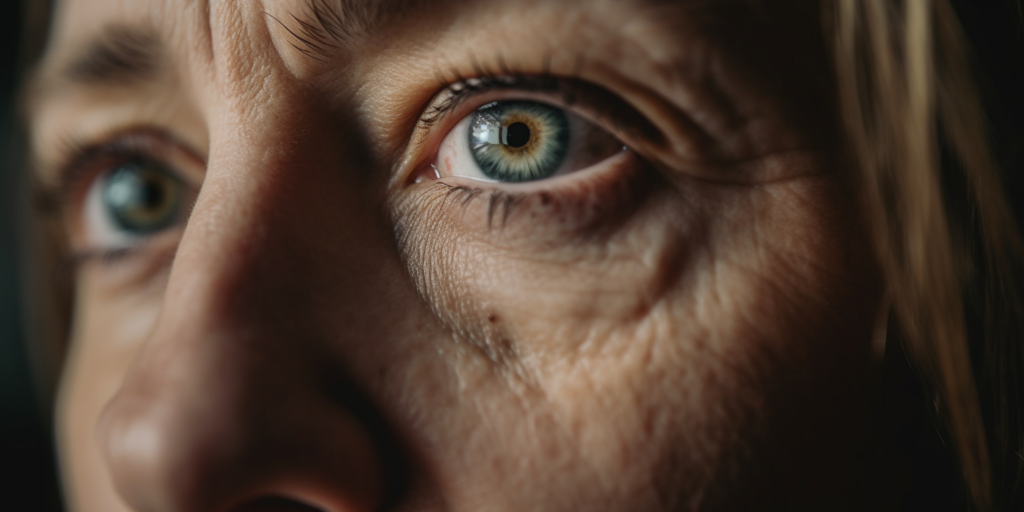
Understanding Your Eye Shape

To really make your eyes pop, understanding their shape and contours is key – so let’s dive in!
Eye makeup trends come and go, but the right eyeliner can truly enhance your look.
As you age, your eyes may naturally change shape, making it more important than ever to understand how to apply eyeliner to flatter your features.
If you have hooded eyes, for example, consider a different approach to eyeliner application.
Rather than lining your entire upper lash line, try creating a thinner line that gradually thickens from the middle to the outer corner.
This will help lift your eyes and create the illusion of a more defined crease.
Aging gracefully with makeup doesn’t have to mean avoiding bold looks altogether.
By understanding your eye shape and choosing the right type of eyeliner, you can create a customized look that complements your features and enhances your natural beauty.
So, let’s move on to the next step – choosing the right type of eyeliner for you.
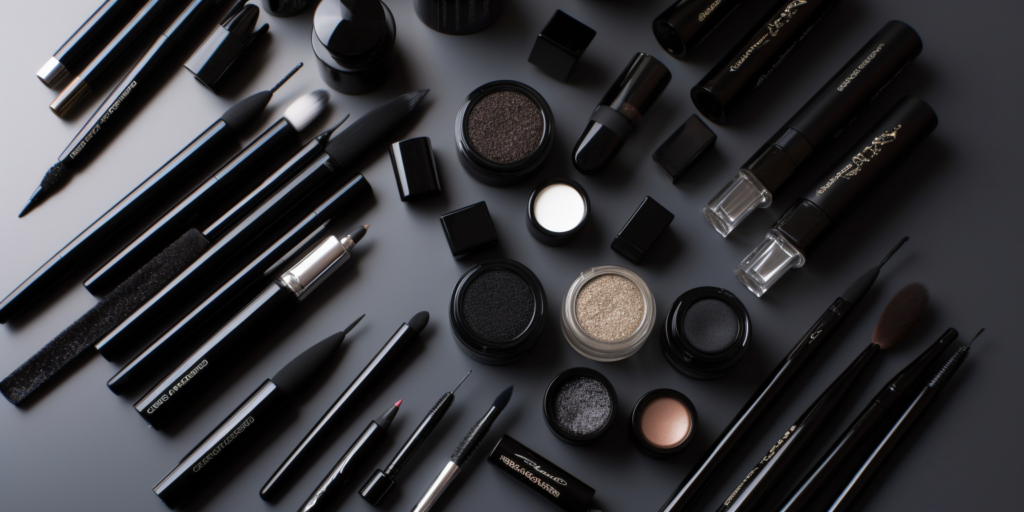
Choosing the Right Type of Eyeliner
Choosing the perfect eyeliner type is like picking the right paintbrush for a masterpiece.
With so many options available, it’s overwhelming to choose the one that works best for you.
When it comes to eyeliner, there are three main types to choose from: gel, pencil, and liquid.
Gel vs pencil is a common debate, with pencil being more versatile and gel being more long-lasting.
Liquid vs pen is another decision to make, with liquid being more precise and pen being easier to control.
As you age, it’s important to choose the right type of eyeliner that complements your skin and eye shape.
Matte vs shimmer is another factor to consider, with matte being more subtle and shimmer being more dramatic.
For those over 40, a matte eyeliner is often the best choice as it can help to create a more natural, youthful look.
However, if you prefer a little shimmer, opt for a subtle shimmer that won’t overpower your overall look.
The key to choosing the perfect eyeliner for your age is to experiment and find what works best for you.
Don’t be afraid to try new things and switch up your routine.
As you become more comfortable applying eyeliner, you may find that you prefer a certain type or style.
In the next section, we’ll discuss how to prepare your eyes for application, so you can get the most out of your chosen eyeliner.
Preparing Your Eyes for Application

Ready to take your eyeliner game to the next level?
Before you start, let’s talk about how to prep your eyes for a flawless application.
Eye care is key, so make sure you remove any makeup residue with a gentle makeup remover.
This will help your eyeliner adhere better and prevent smudging later on.
After removing your makeup, it’s important to moisturize your eye area.
Use a lightweight eye cream to hydrate and smooth out any fine lines or wrinkles.
This will create a smooth canvas for your eyeliner application.
Next, make sure your eyes are free from any excess oil or sweat.
Use a cotton swab dipped in a bit of toner to gently cleanse your eyelids.
This will ensure that your eyeliner stays put and doesn’t smudge or transfer.
If you have oily eyelids, use an oil-free primer to create a matte base for your eyeliner.
Finally, before you apply your eyeliner, make sure your eyes are completely dry.
Any moisture on your eyelids can cause your eyeliner to smudge or slip.
Use a tissue or cotton pad to gently pat your eyelids dry.
Now you’re ready to move on to applying eyeliner to your upper lid.
Applying Eyeliner to the Upper Lid
Let’s dive into how to rock your eyeliner game by effortlessly applying it to your upper lid.
First up, let’s talk about winged liner.
This technique involves extending the line outwards and upwards towards the end of your eyebrow, creating a winged effect.
It’s a classic look that never goes out of style and can be achieved with a pencil, gel, or liquid liner.
If you prefer a more natural look, try the smudging technique.
Apply your liner to your upper lid and use a smudging brush or your finger to blend it outwards, creating a soft, smoky effect.
This works particularly well with pencil liners and is perfect for daytime wear or a more understated look.
Let’s talk about tight lining tricks.
This involves applying your liner to the base of your lashes, rather than above them, to create the illusion of fuller lashes.
Use a fine-tipped liner pencil or a gel liner and a small brush to get as close to the lash line as possible.
This technique is perfect for those who want to add definition to their eyes without the drama of a winged liner or the smokiness of a smudged liner.
Now that you’ve mastered the art of applying eyeliner to your upper lid, let’s move on to adding definition to the lower lid.
Adding Definition to the Lower Lid

If you’re looking to take your eyeliner game to the next level, it’s time to learn how to add definition to your lower lid.
This is where the smudging technique comes in handy.
Using a small brush or your fingertip, blend the eyeliner pencil or gel along your lower lash line.
This will create a soft, smoky effect that adds depth and dimension to your eyes.
When choosing a color for your lower lid liner, consider your eye color and skin tone.
For a natural look, go for a shade that’s slightly darker than your skin tone.
If you want a more dramatic look, experiment with bold colors like navy, emerald green, or even purple.
To create a winged liner effect, extend the liner slightly beyond the outer corner of your eye and taper it off into a point.
Adding definition to your lower lid is just one step in achieving a polished eye makeup look.
Next, it’s time to move on to the finishing touches.
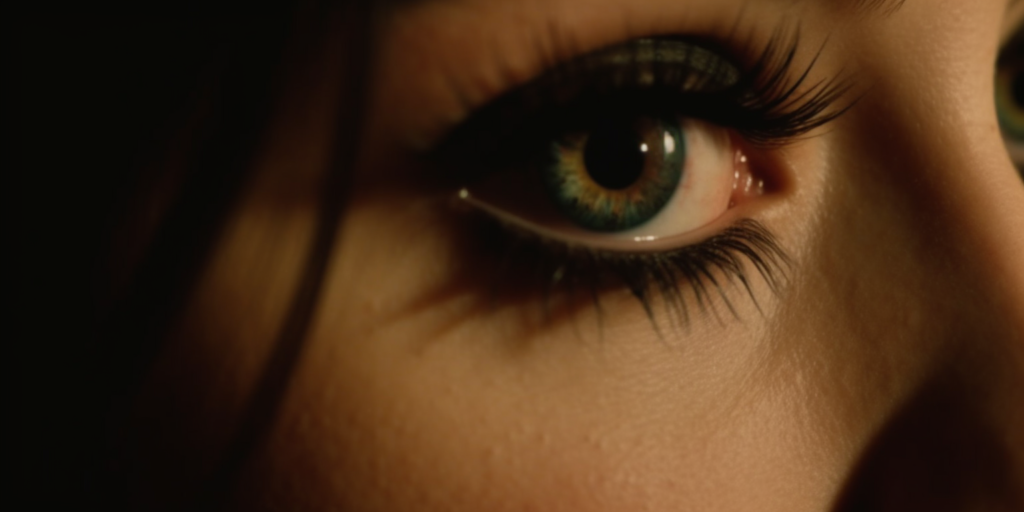
Apply a light eyeshadow to your brow bone and inner corner of your eye to highlight and brighten.
Finally, curl your lashes and apply mascara to both your upper and lower lashes for a complete look.
With these tips and tricks, you’ll be rocking a flawless eyeliner look in no time.
Finishing Touches for a Polished Look
Now that we’ve added definition to the lower lid, it’s time to finish the look with some highlighting, curling, and mascara for a truly polished result.
First, make sure your color coordination is on point.
If you use to a dark eyeliner on your lower lid, consider using a lighter shade for highlighting the inner corner of your eye.
This will brighten up your eyes and make them appear larger.
You can also use a small amount of highlighter on your brow bone for an extra pop.
Next, use smudging techniques and blending tricks to ensure a seamless transition between your eyeliner and eyeshadow.
Use a small blending brush to gently blend out any harsh lines, focusing on the outer corners of your eyes.
This will create a more natural and polished look.
For added drama, you can also add some eyeshadow to your lower lash line and smudge it out for a smoky effect.
Finally, curl your lashes and apply mascara to complete the look.
Start by using an eyelash curler to curl your lashes, holding the curler at the base of your lashes for a few seconds before moving up.
Then, apply your favorite mascara, wiggling the wand at the base of your lashes to create volume.
For a more natural look, use a brown mascara instead of black.
With these finishing touches, your eyeliner look will be complete and ready for long-lasting wear.
Tips for Long-Lasting Wear
To ensure your eyeliner stays put all day, there are a few tips and tricks you can try.
Here are some smudge-proof techniques you can use to keep your eyeliner from fading or smudging:
First, use a primer on your eyelids before applying eyeliner.
This will help the eyeliner stay in place and prevent it from creasing.
Second, set your eyeliner with a matching eyeshadow.
This will not only make your eyeliner last longer but also give it a more intense color payoff.
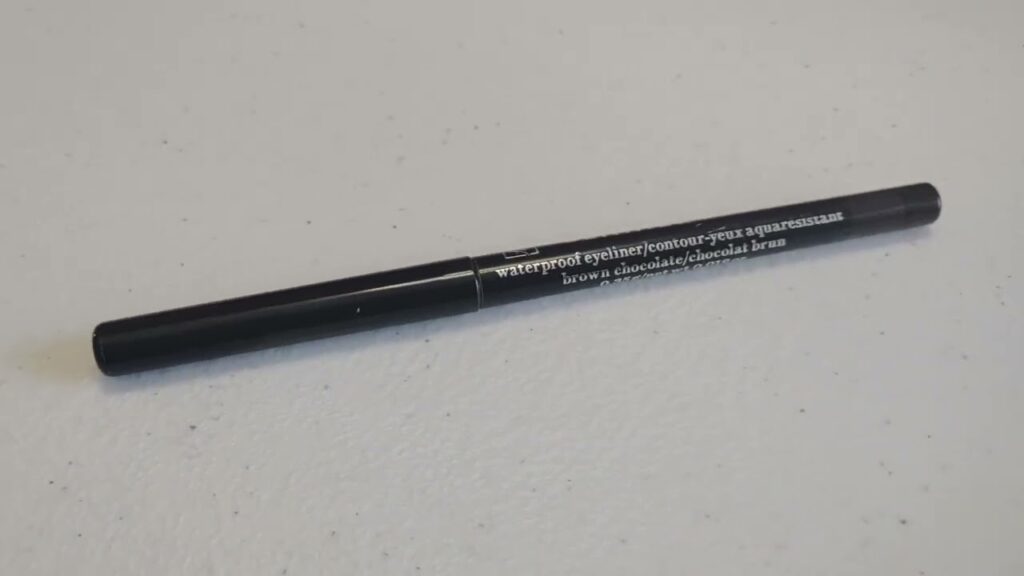
Last, use a waterproof eyeliner to prevent smudging caused by tears, sweat, or humidity.
If you want your eyeliner to last all day, waterproof options are a must-try.
They designed these eyeliners to repel water and sweat, ensuring your makeup stays put no matter what.
You can choose from different waterproof eyeliners, including gel, pencil, and liquid.
Gel eyeliners are perfect for creating sharp and precise lines, while pencil eyeliners are great for smudging and creating a smokey eye.
Liquid eyeliners are perfect for creating a bold and dramatic look.
Setting spray secrets is another way to make sure your eyeliner stays put all day.
Setting sprays help seal your makeup and prevent it from smudging, fading, or creasing.
To use a setting spray, hold the spray bottle about 8-10 inches away from your face and lightly mist your face.
Keep your eyes closed while spraying to avoid getting the product into your eyes.
Setting sprays are also great for refreshing your makeup throughout the day, giving your eyeliner a fresh and polished look.
In conclusion, there are several tips and tricks you can use to make your eyeliner last all day.
From using smudge-proof techniques to trying waterproof options and setting spray secrets, there are many ways to ensure your eyeliner stays put no matter what.
By incorporating these tips into your makeup routine, you can achieve a flawless and polished look that will last all day.
Frequently Asked Questions
Can you use liquid eyeliner at 40 or should you stick to a pencil?
Did you know that 80% of women over the age of 40 use an eyeliner?
Whether you prefer liquid or pencil, both have their pros and cons.
Liquid eyeliner provides a sharp and precise line, but can be harder to control and fix mistakes.
Pencil eyeliner is easier to use and smudge for a softer look, but may not last as long.
Tips and tricks for applying eyeliner at 40 include using a primer to prevent smudging, taking breaks to rest your hand, and experimenting with different techniques to find what works best for you.
Some of the best products for mature skin include gel eyeliners, which are easier to apply and won’t tug at delicate skin.
No matter which type of eyeliner you choose, remember to have fun and embrace your inner innovator!
How do you prevent eyeliner smudging or running throughout the day?
To prevent eyeliner smudging or running throughout the day, consider a few options.
Waterproof options are a great way to ensure your eyeliner stays put.
Setting powder tricks can help keep your eyeliner in place for longer periods of time.
Applying setting powder over your eyeliner can help absorb any excess oil or sweat that may cause smudging.
Eye primer benefits are another option to consider.
Eye primer can help create a smooth base for your eyeliner, making it easier to apply and helping it stay in place.
Consider trying out these techniques to keep your eyeliner looking fresh all day long.
Should you apply eyeliner before or after eyeshadow?
You’re getting ready for a night out and you want to create a dramatic, bold eye look.
You’re wondering whether you should apply your eyeliner before or after your eyeshadow?
Well, the answer is it depends on the style of eyeliner you’re going for.
If you’re doing a winged liner, it’s best to apply your eyeliner first, as it will act as a guide for your eyeshadow application.
If you’re going for a smudged or blended eyeliner look, it’s best to apply your eyeshadow first and then blend your eyeliner with it for a seamless finish.
Don’t be afraid to experiment with different eyeliner styles and techniques to find what works best for you.
Remember, blending eyeshadow with eyeliner is key for a cohesive eye look.
How do you create a winged eyeliner look without making it look too dramatic?
Creating a subtle winged eyeliner look is the perfect way to add a touch of glam without going overboard.
To achieve this look, start by using a pencil or gel liner and begin by drawing a thin line along your upper lash line.
Then, gently flick the liner upwards at the outer corner of your eye to create a small wing.
To ensure a natural look, choose an eyeliner color that matches your natural lash color and avoid using harsh black liners.
If you have mature skin, be sure to use a primer before applying your eyeliner to avoid smudging or creasing throughout the day.
Some of the best eyeliner products for a natural look include the Avon fmg Glimmer Cream Eyeliner and the fmg Cashmere 24HR Cream Eyeliner.
With these tips and products, you can easily achieve a subtle winged eyeliner look that is both sophisticated and age-appropriate.
Are there any specific techniques for applying eyeliner to hooded eyes?
If you have hooded eyes, applying eyeliner can be tricky.
You want to create a defined look without making your eyes appear even smaller.
First, start by applying a primer to your eyelids to prevent the eyeliner from smudging.
Then, use a fine-tipped liner to line your upper lash line, starting from the inner corner and gradually making it thicker towards the outer corner.
To create the illusion of larger eyes, extend the wing outward and slightly upward.
Avoid applying eyeliner to your lower lash line as it can make your eyes appear smaller.
As you age, it’s important to use softer and warmer colors to avoid a harsh look.
With these eyeliner techniques, you can create a beautiful and defined look for your hooded eyes.
Congratulations! You’ve successfully learned how to apply eyeliner at 40.
Now, let’s take a moment to appreciate the power of eyeliner.
Did you know we have used eyeliner for centuries since dating back to ancient Egypt?
They believed that eyeliner not only enhanced one’s beauty but also protected the eyes from the evil eye.
Nowadays, eyeliner is still a staple in many makeup routines, and it’s easy to see why.
By taking the time to understand your eye shape and choosing the right type of eyeliner, you can create a polished look that enhances your natural beauty.
Whether you prefer a subtle or bold look, eyeliner can add definition and depth to your eyes.
Plus, with a few tips for long-lasting wear, your eyeliner will stay put all day.
So, experiment with different looks and have fun with your newfound knowledge of how to apply eyeliner at 40!